Can You Grow Mushrooms on Coffee Grounds? Yes, Here's How
By Josh Shearer on 07/27/2026
Spent coffee grounds are free, abundant, and pre-pasteurized. How to grow oyster mushrooms on them, why freshness matters, and what actually works.
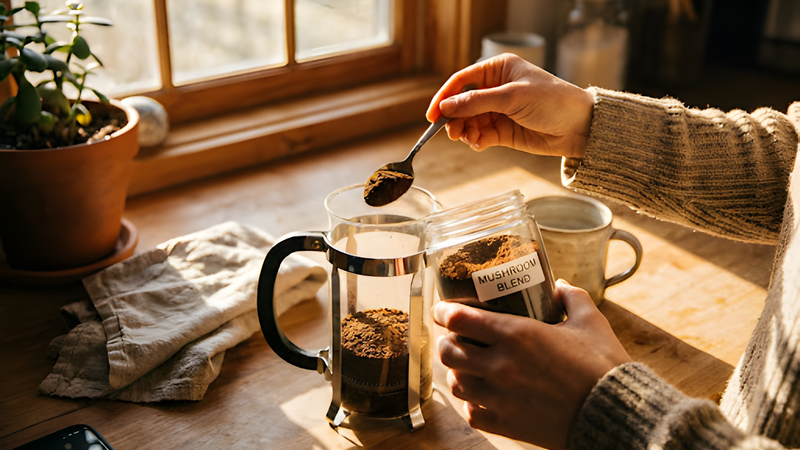
Every coffee shop throws out buckets of used grounds a day, and oyster mushrooms will happily eat them. Growing mushrooms on spent coffee grounds is one of the most satisfying beginner projects in cultivation: the substrate is free, it takes no special equipment, and it turns a waste stream into food. It also has a couple of catches worth knowing before you start.
Why coffee grounds work
Used coffee grounds have two things going for them as a substrate. They are already pasteurized: brewing runs near-boiling water through the grounds, which knocks back most competing molds and bacteria for free, so you skip the whole step of cooking straw. And they are rich in nitrogen and moisture, which mushroom mycelium likes.
There is one species that does this reliably, and it is the same one that is the answer to most beginner questions: the oyster mushroom. Oysters are aggressive enough to colonize coffee grounds faster than contaminants can move in. Most other gourmet and medicinal mushrooms are fussier and want hardwood, so if you read about someone fruiting shiitake or reishi on coffee, that is a specially adapted strain and an advanced setup, not a beginner project. Start with oysters.
Freshness is the whole game
Here is the catch that sinks most first attempts: use the grounds within a day, two at the outside. That built-in pasteurization only lasts as long as the grounds are fresh. Sitting in a warm bucket, spent coffee grows its own mold fast, and moldy grounds will lose to contamination no matter what you do. Collect grounds the same day they are brewed, or brew your own and use them immediately.
How to do it
The method is essentially the oyster-on-straw process with grounds swapped in.
Collect fresh grounds and drain off any excess liquid, so there is no standing water pooling in the container. Mix in oyster grain spawn as you fill a container such as a bucket or a filter-patch grow bag, layering spawn through the grounds. Unlike straw, do not pack coffee grounds down, because they are fine enough to smother airflow; the mycelium needs oxygen to run through them.
A useful upgrade is cardboard. Between roughly one-inch layers of coffee grounds, add strips of plain corrugated cardboard, tape-free, that you have soaked and drained. The cardboard adds a carbon source to balance the nitrogen-heavy coffee and, just as importantly, keeps the mix from compacting so air can move. Then colonize it somewhere warm and dark for a couple of weeks until it is knit solid with white mycelium, and move it to fruiting conditions with fresh air, light, and humidity, exactly as you would a straw bucket.
There is even a lazy shortcut worth trying once: because oyster mushrooms are so vigorous, torn-up fresh oyster mushrooms from the grocery store can sometimes serve as spawn. Bury the pieces in a container of fresh grounds, put the lid on loosely, and check back in a few weeks. It does not always take, but when it does it costs nothing.
The honest limits
Coffee grounds are a great learning substrate, not a high-yield one. Pure coffee is nitrogen-rich and prone to molding and compacting, which is exactly why the cardboard and the freshness rules matter, and why serious growers usually blend grounds with straw or sawdust rather than relying on coffee alone. Treat a coffee-grounds grow as a cheap, low-stakes way to learn what colonization and fruiting look like. Once you have a flush of oysters off a bucket of yesterday's espresso, the rest of cultivation feels a lot less intimidating.
Frequently Asked Questions
Yes. Oyster mushrooms grow well on spent coffee grounds. Brewing pasteurizes the grounds for free, and they are rich in the nitrogen and moisture that mushroom mycelium likes.
References
- McCoy, P. (2016). Radical Mycology: A Treatise on Seeing and Working with Fungi. Chthaeus Press.
- Stamets, P. (2000). Growing Gourmet and Medicinal Mushrooms. Berkeley, CA: Ten Speed Press.
- Stamets, P. & Chilton, J. S. (1983). The Mushroom Cultivator: A Practical Guide to Growing Mushrooms at Home. Agarikon Press.